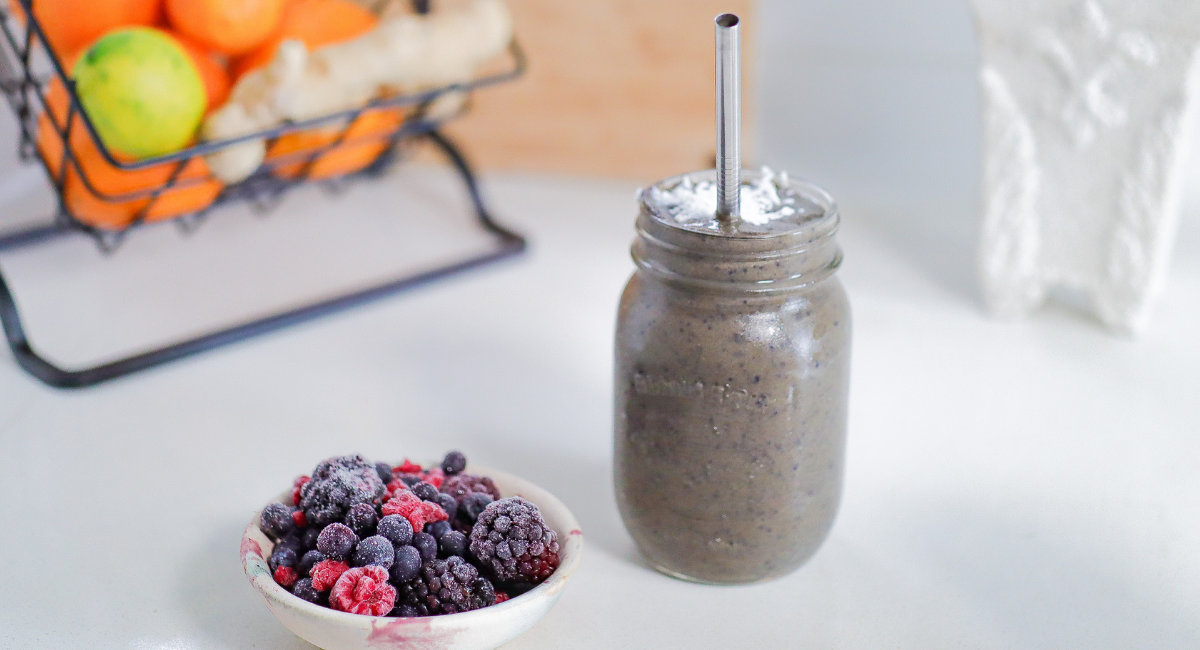
Choco-Berry Protein Smoothie
A chocolatey fave with a very berry twist! Enjoy this Choco-Berry Protein Smoothie as a nourishing post-workout recovery drink, or a nutritious breakfast any time you’re craving something with a little chocolate!
This Choco-Berry Protein Smoothie is so yummy, and perfect if you want to feel like you’re indulging (psst – it’s actually healthy!). If you’re unsure about combining chocolate and berries, just imagine those chocolate covered blueberries or açai berries that are ridiculously good, because It’s kind of like that.

So, I don’t know about you, but the more chocolate I can add into my diet without feeling guilty is something I strive for! This smoothie calls for 2 tbsp of cocoa powder, but heck, if you want more, don’t let me stand in your way! If you use chocolate flavoured protein powder, you’ll definitely get your chocolate kick!
- Unsweetened Plant-Milk: I like soy milk for smoothies because it packs a protein punch compared to other plant-milks.
- Kale and/or Spinach: These hearty leafy greens are packed with essential vitamins and nutrients with little calories.
- Vanilla or Chocolate Protein Powder: Makes for a more satiating smoothie, plus adds great texture, sweetness and flavour.
- Frozen Berries: Use blueberries, cherries, or a mixed blend for some tart and tangy yumminess (and lots of antioxidants!).
- Cocoa Powder, Flax + Chia: These dry ingredients add rich and delicious depth of flavour, gut-friendly fibre and act as thickeners.
- Maple Syrup: For a kiss of natural sweetness.
How to Make a Choco-Berry Protein Smoothie
No matter what kind of spin (#punny) you put on it, smoothies are always a good grab ‘n go option! Plus, they couldn’t be easier to throw together. If you have a decent blender, fresh ingredients and 10 minutes to spare, you can make a smoothie!
- First, add your plant milk into your blender jug. A general rule of thumb in smoothie making is always add your liquids first.
- Next, add your kale or spinach. Gently push your greens down towards the blade to ensure they easily catch and blend nicely.
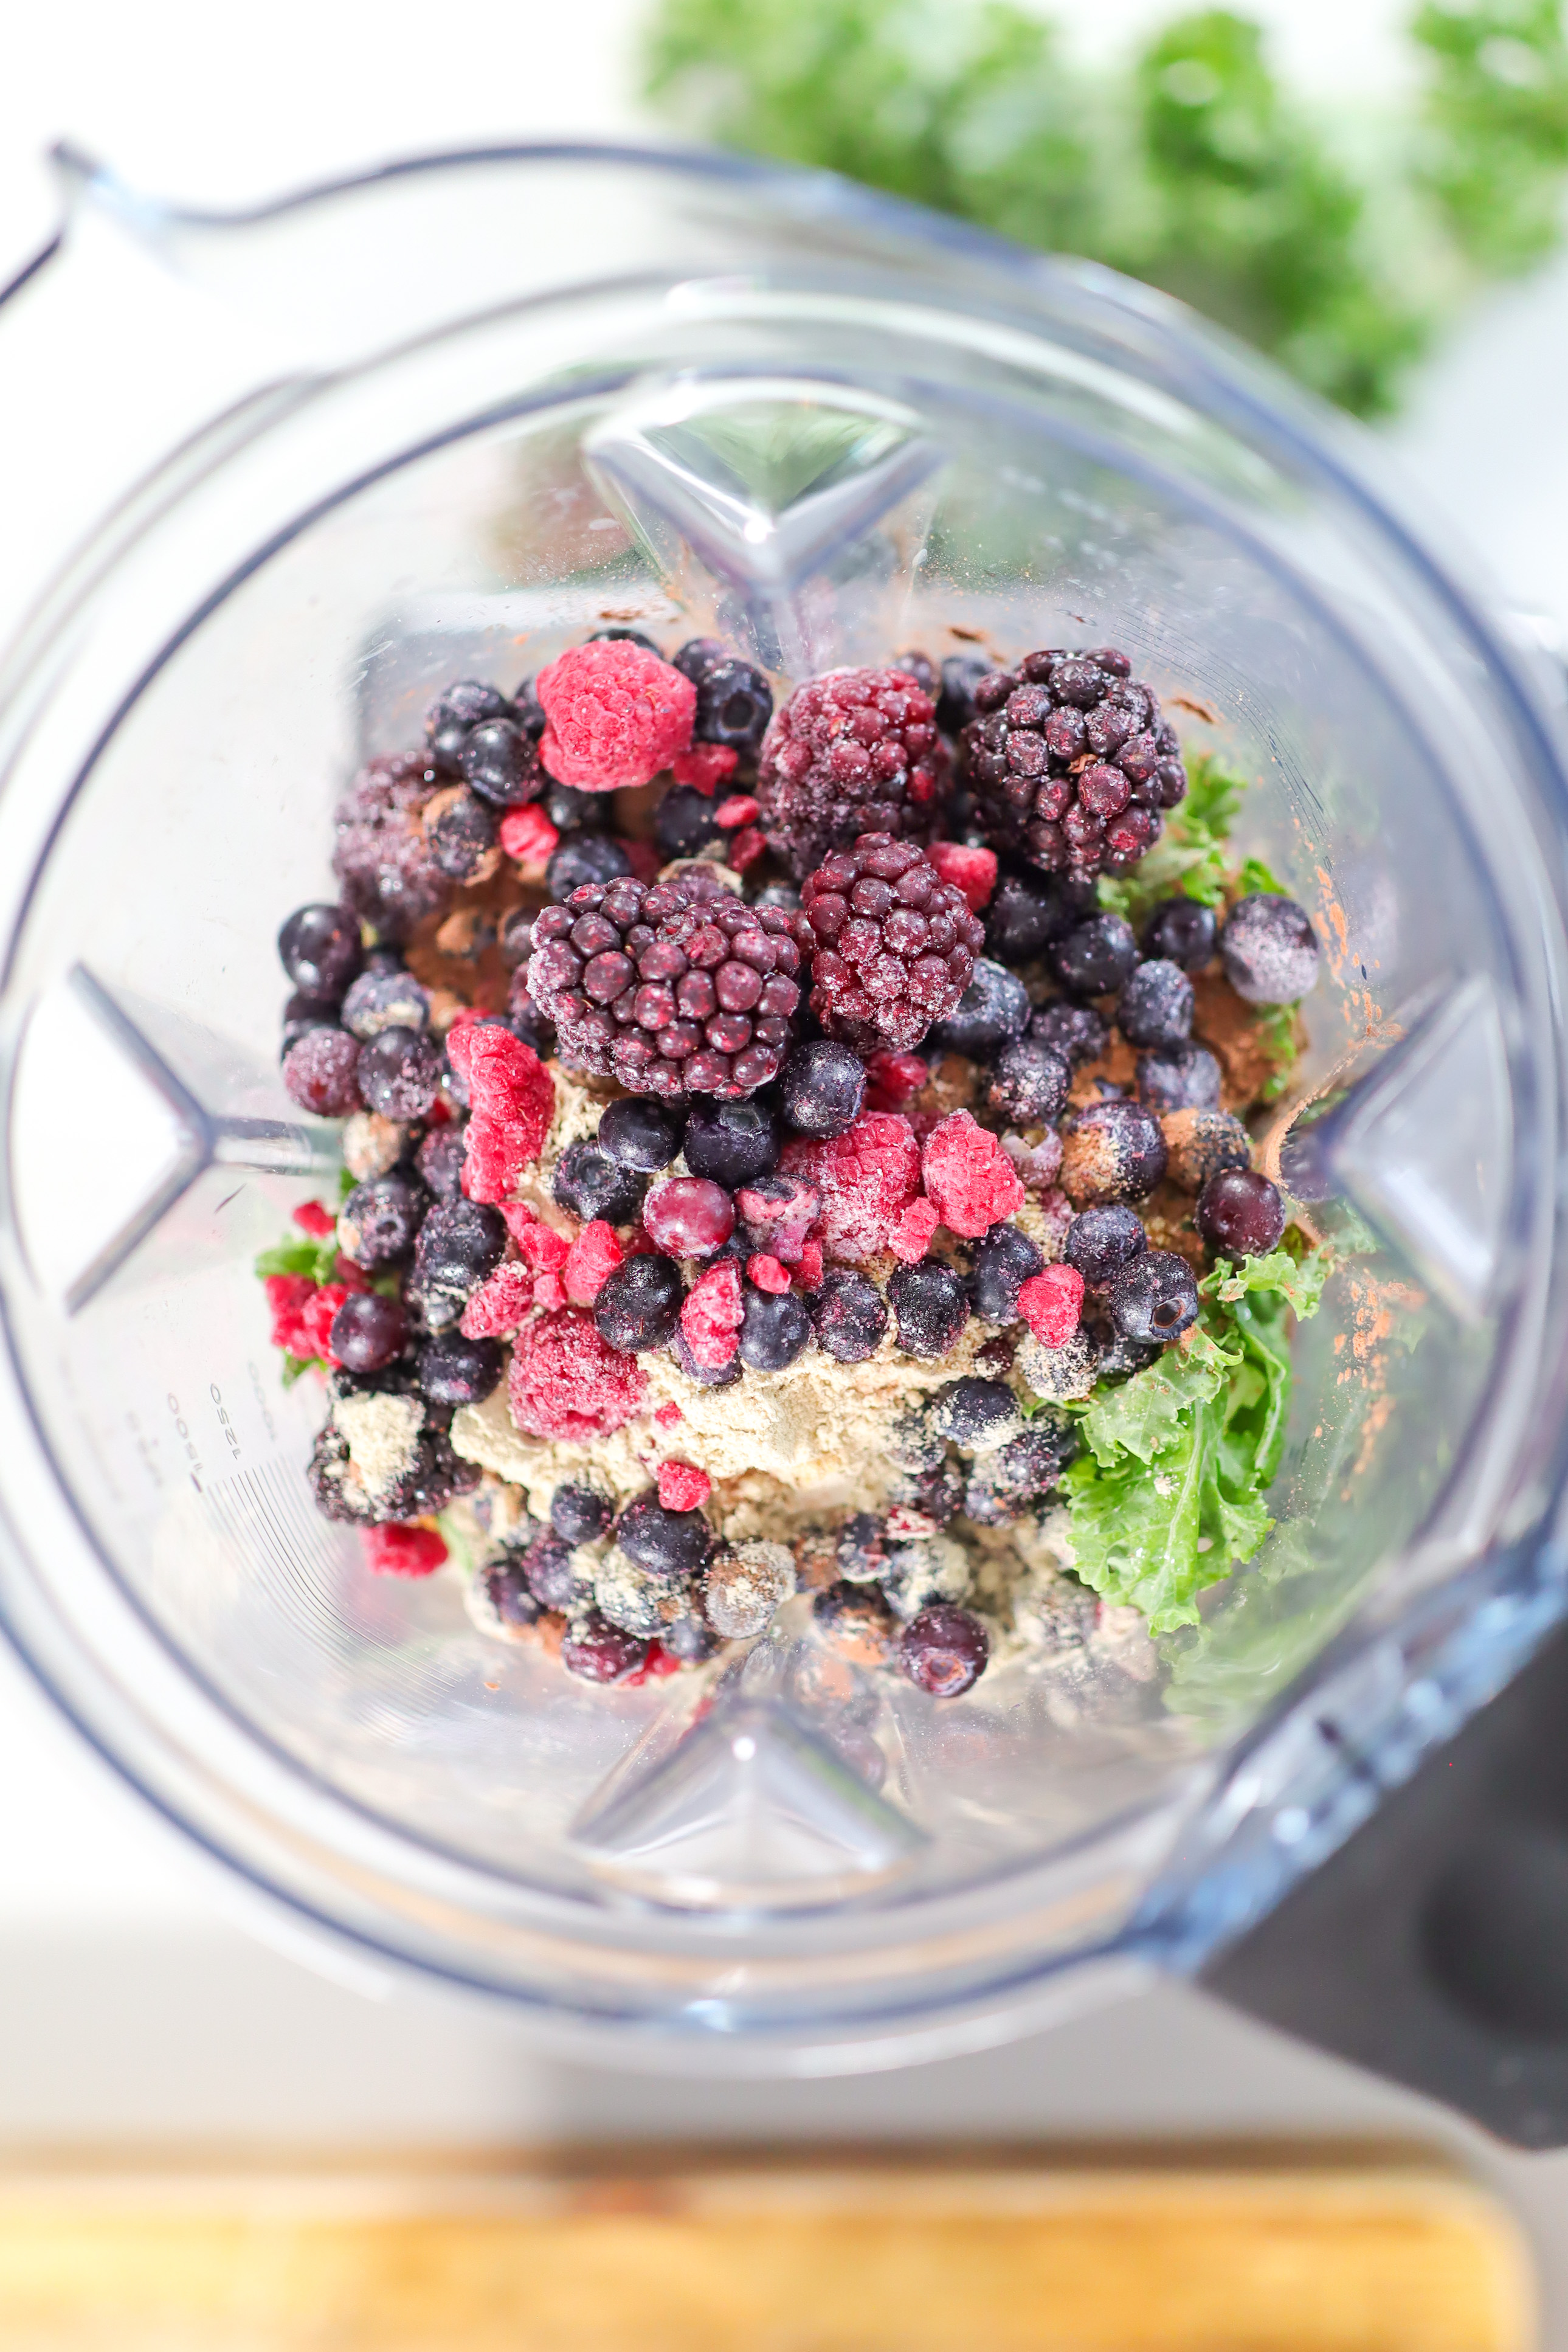
- Add your dry ingredients – the protein powder, cocoa powder, chia and ground flax seeds.
- Next, add the maple syrup for just a touch of natural sweetness, followed by the frozen berries.
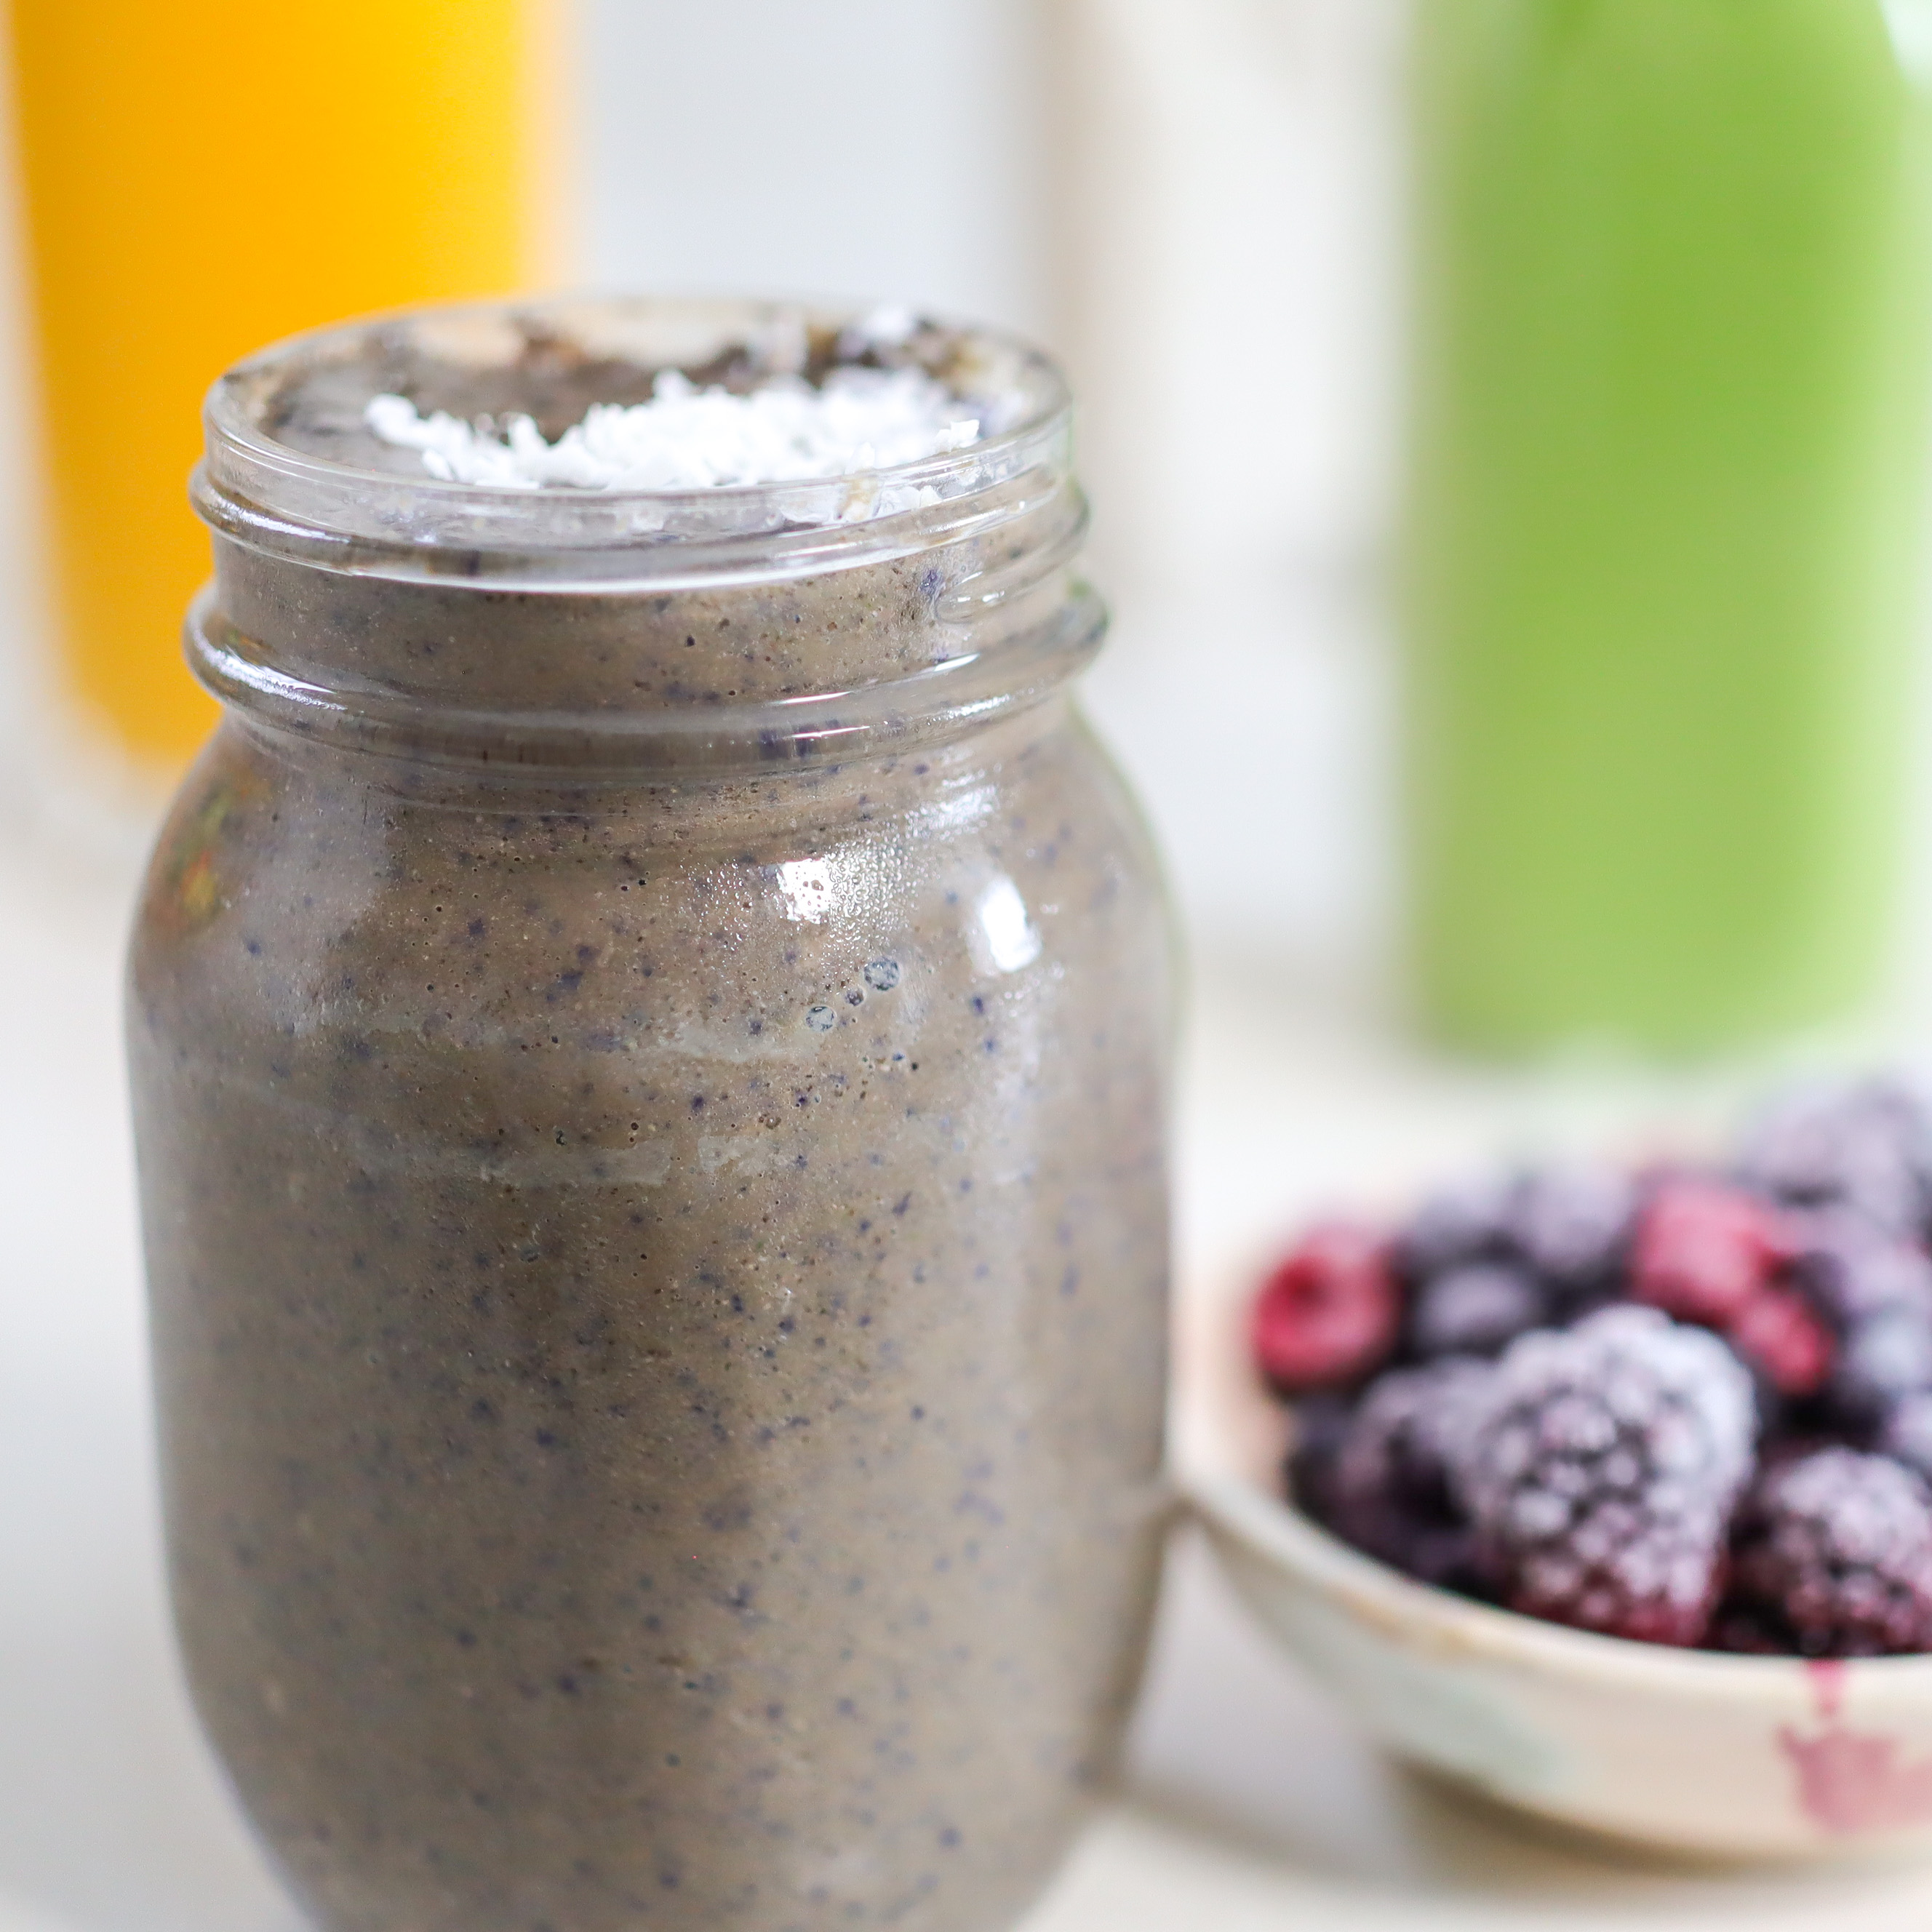
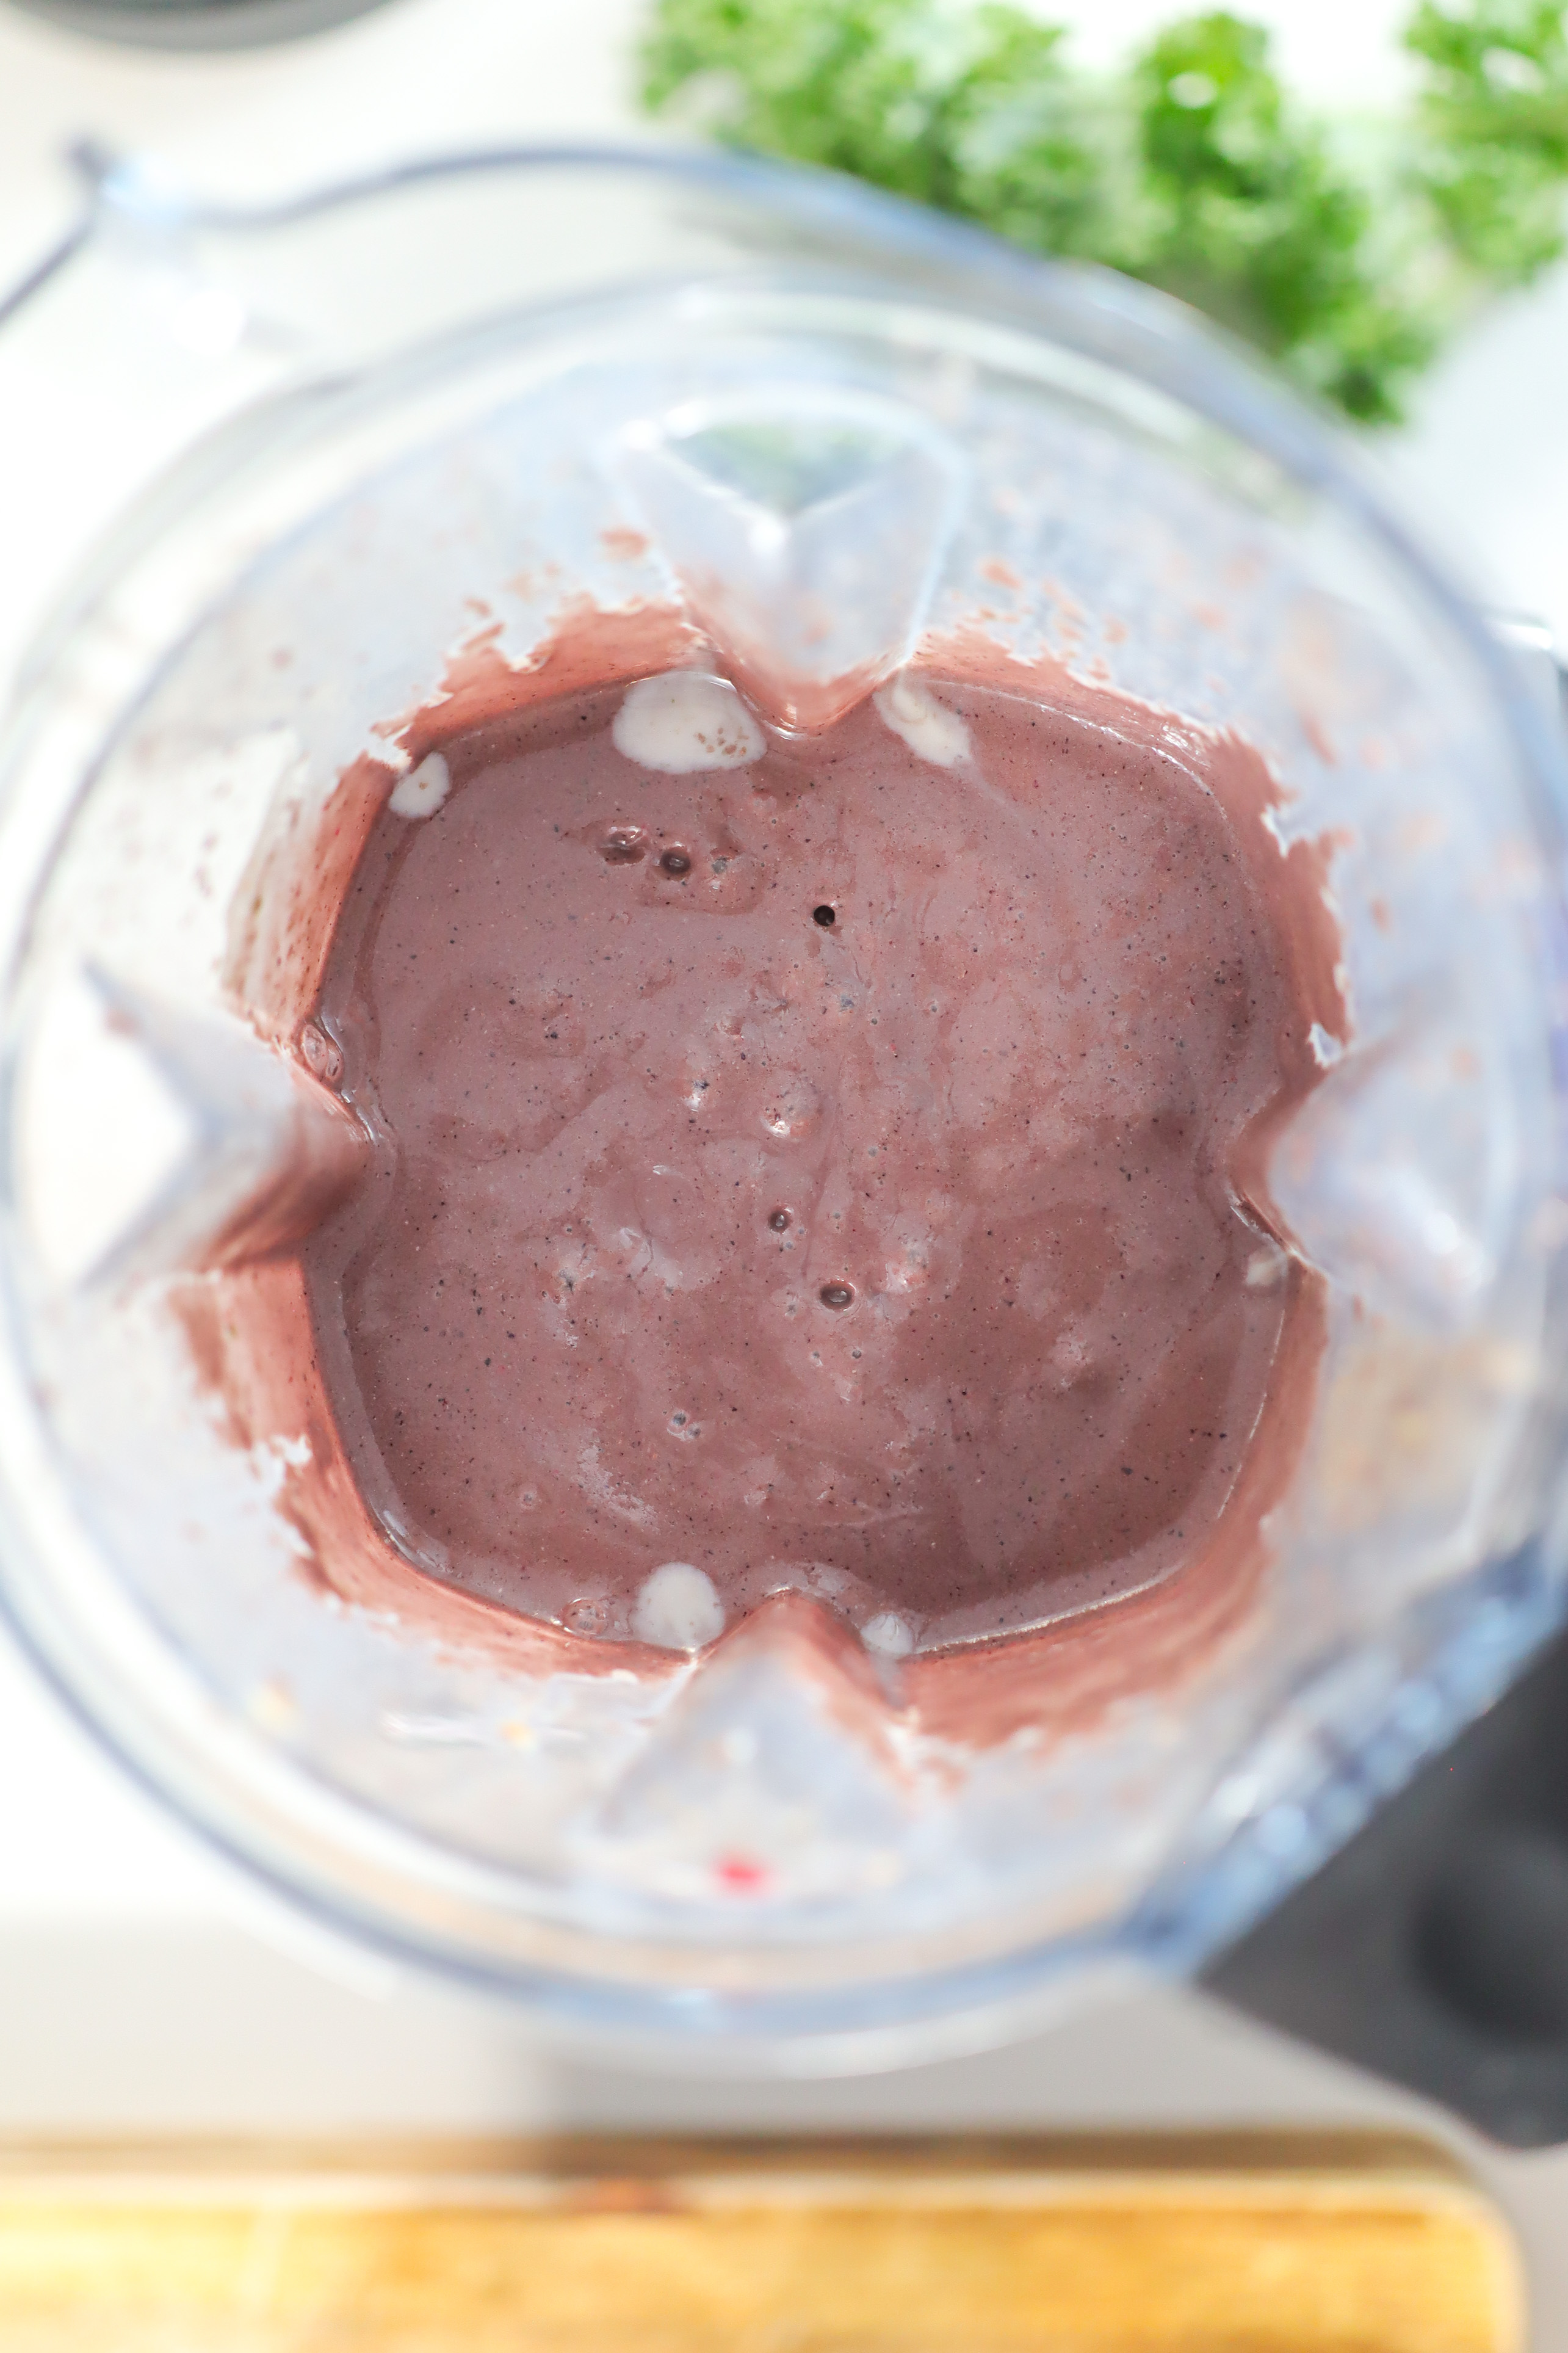
- Finally, seal the lid and blend on high for 30-45 seconds, until completely smooth. Pour the smoothie into a glass, garnish with you favourite toppings and enjoy!
Tips for Getting the Smoothest Blend (And not wearing out your blender’s motor)
I’ve made a mistake or two in my smoothie-making adventures so you don’t have to! You may not know this, but there actually is a ‘best’ way to layer your ingredients to achieve the smoothest blend and prevent your blender from prematurely kicking the can.
- Always add your liquids first: All following ingredients will be submerged in the liquid, making it easier for the blades to catch them. It also protects your blades from damage. Roughly 3/4 cup of liquid is a good minimum requirement.
- Leafy greens go next, followed by other soft fruit/veg: Greens are the easiest to be caught by the blades and will ensure the ingredients above them get pulled in easily as well.
- Don’t add protein powders directly into the liquid: In the time it takes you to add all your other smoothie ingredients, the protein powder will likely clump up and stick to the blades, jug walls and make it more difficult to break apart. Because no one enjoys chunks of protein powder in their smoothies!
- Always add the frozen ingredients last: Placing heavier, frozen items on top of lighter ingredients helps weigh them down and gets the blend moving faster. This helps prevent the blend from stalling, which happens when air pockets form around the blades.
You can easily double this recipe so that you can enjoy it with someone special. Or, save it for tomorrow. This will keep in the fridge for up to 3 days, but do keep in mind that it will be thicker the longer it sits. If you find it’s too thick, simply add more plant-milk or water and stir to thin it out to your liking. If there’s any separation occurring, just a quick stir or shake will do the trick.
Lastly, If you made this recipe and decide to share it on Facebook or Instagram, don’t forget to tag me @SteamyVeganKitchen + #SteamyVeganKitchen! I can’t wait to see your yummy recreations!

Sunshine Smoothie
Ingredients
Equipment
Method
- First, add your orange and lemon juices, plus vanilla yogurt into your blender jug.
- Next add the lemon zest, banana, and ginger.
- Lastly, add your carrot, frozen mango, and a few ice cubes if you want it extra chilly. Pineapple would work great here, too!
- Seal the lid and blend on high for 30-45 seconds. Once blended, feel free to test it’s consistency. If it’s too thick for your liking, thin it out with a little extra orange juice, plant milk or water and blend for another 10 seconds.
- Pour into a glass, garnish with a lemon wedge or any of your other favourite toppings. Enjoy!
2 Comments
Comments are closed.