Strawberry Rhubarb Pie
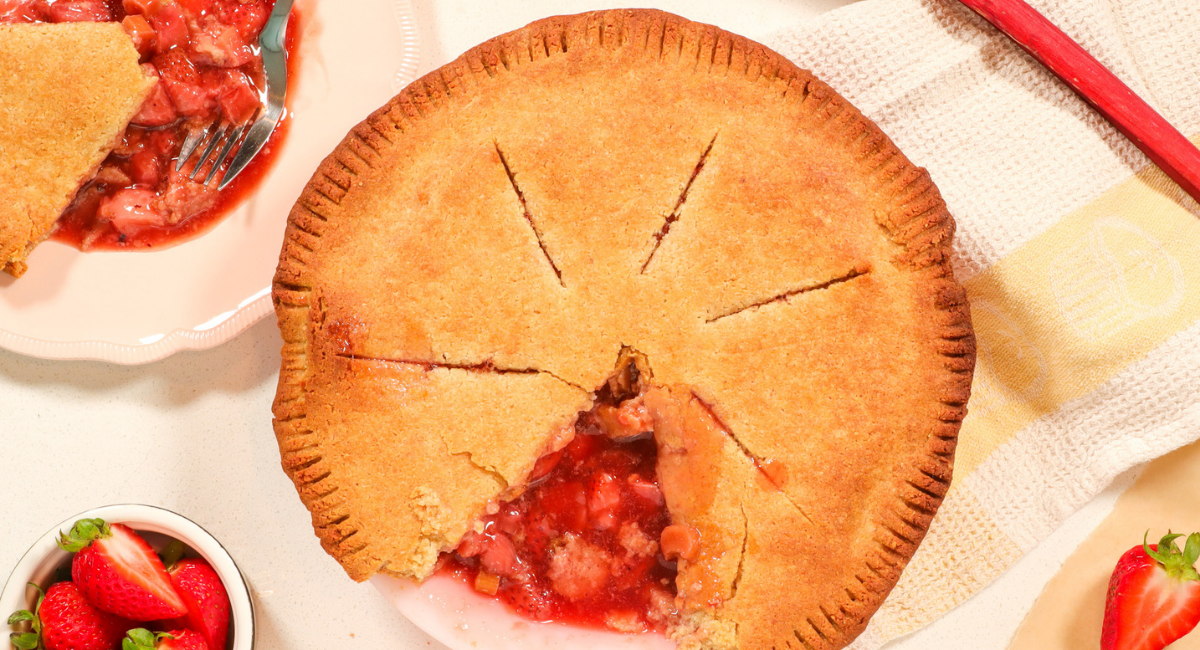
This Strawberry Rhubarb Pie is the perfect warm weather treat! Bursting with in-season fresh fruit and wrapped up in a tender, buttery crust, there’s nothing that says summer better.
JUMP TO RECIPEINGREDIENTS + INSPIRATION 🥧
Growing up, one of my great-aunts had her own pie and baked-goodies business. Her Strawberry Rhubarb Pie was by far her most adored by customers (and family!) and while mine may not ever live up to the amazing-ness of her pie’s legacy, I’m at least going to try and do her proud.
For the crust:
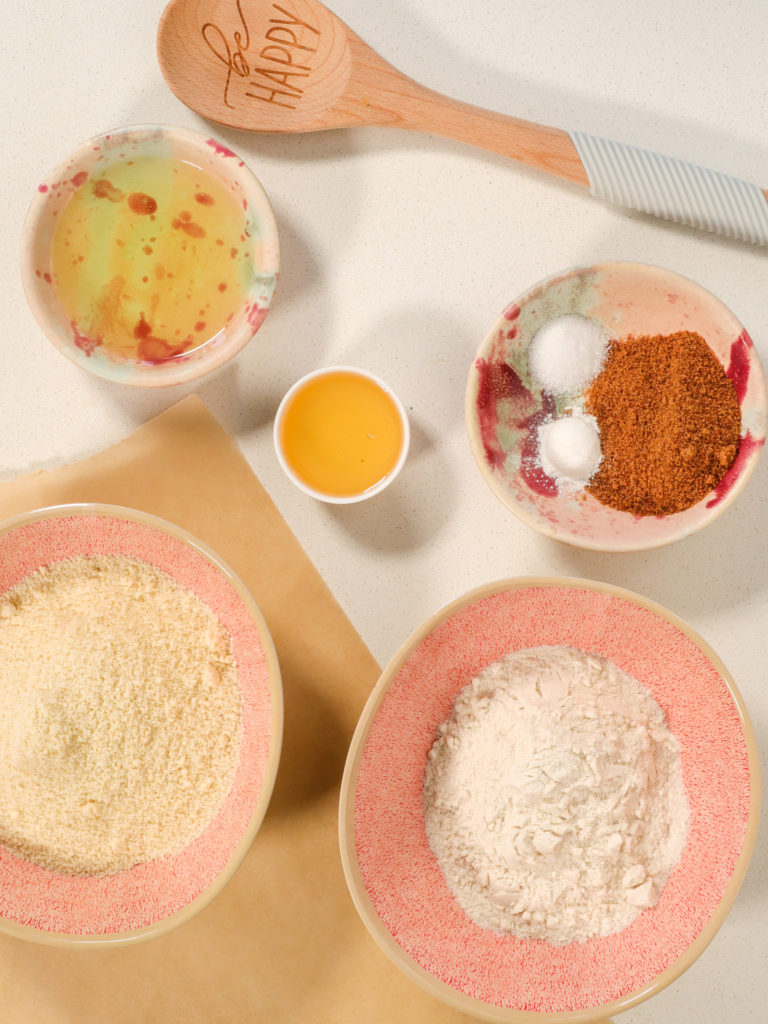
- Almond Flour: the natural oils in it add the most delicious buttery flavour and tender texture.
- Brown Rice Flour: a great gluten-free alternative to whole wheat flour.
- Coconut Sugar has a natural caramel-like flavour and adds a rich sweetness.
- Avocado Oil + Agave Nectar: Helps bind the other ingredients together and brings out the sweet and buttery flavours.
For the filling:
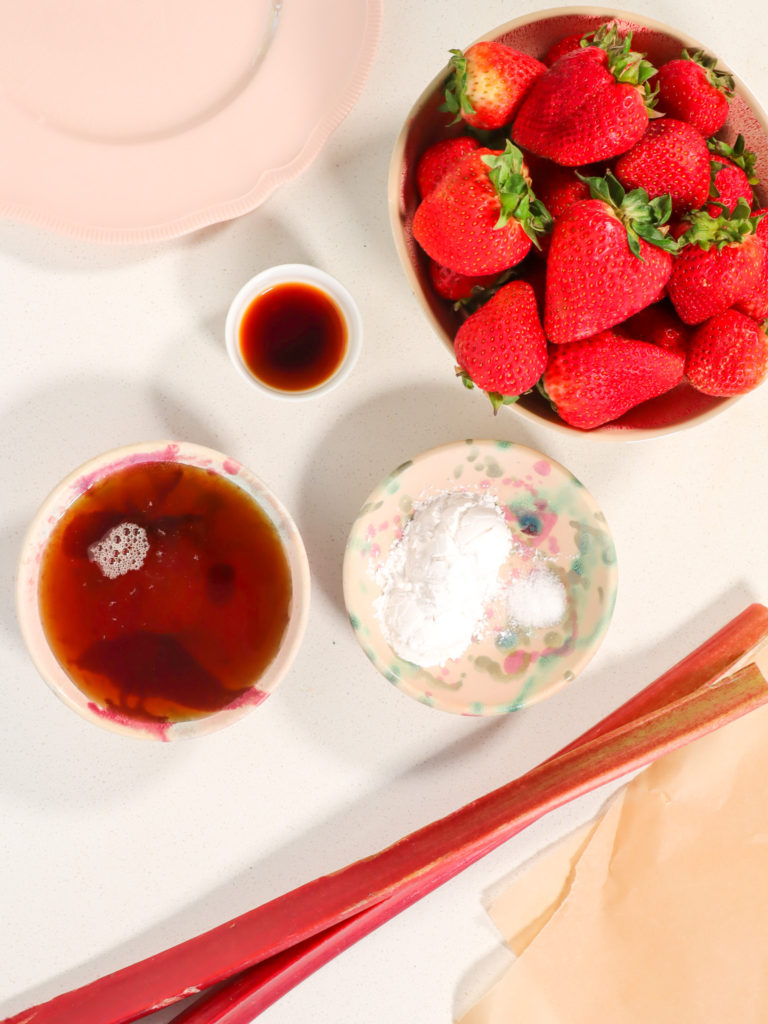
- Fresh Ripe Strawberries: Summer’s best berry, bursting with fresh, succulent sweetness!
- Tart Rhubarb: Adds a zingy, tart bite that compliments the sweetness of strawberries.
- Maple Syrup: A great unrefined sweetener that adds a rich, deep flavour.
- Vanilla Extract: Adds the perfect touch of sweet fragrance and flavour.
How to Make Strawberry Rhubarb Pie 🍓
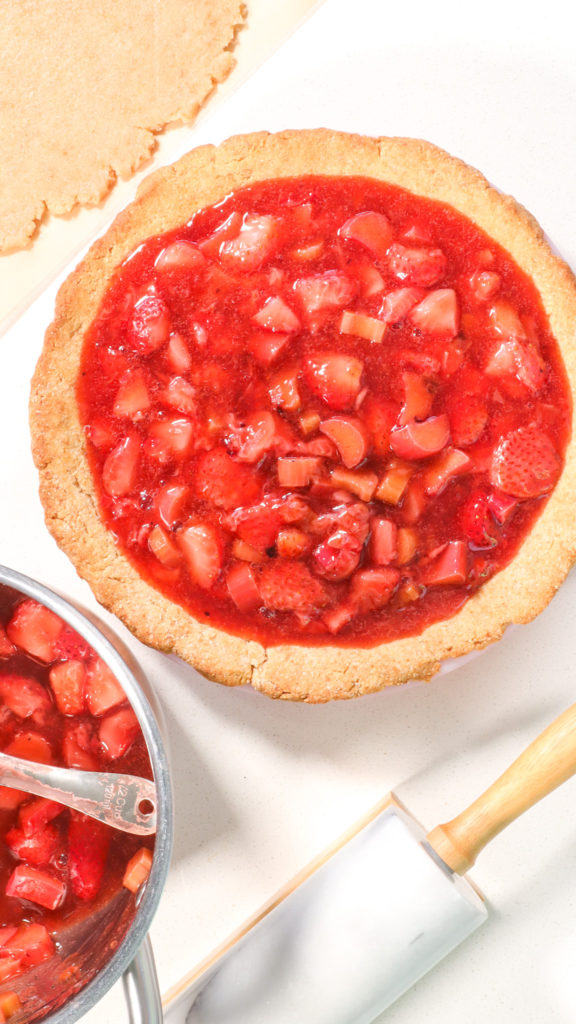
All good things take time, and while this Strawberry Rhubarb Pie requires just a touch of patience I promise the final product is totally worth the wait! For the crust, note that you’ll have to make two batches — one for the top and bottom each. If you don’t want a crust on the top (which is totally fine!) then just make one batch.
- Combine all crust ingredients in a bowl, form into a ball of dough and refrigerate for 30 minutes. Roll out the bottom crust into a circle that will fit your pie plate, transfer to the plate and freeze for 30 minutes.
- Pre-bake the pie crust, and prepare the strawberry rhubarb filling. Once the bottom crust has baked, add the filling and the top crust, and bake until golden.
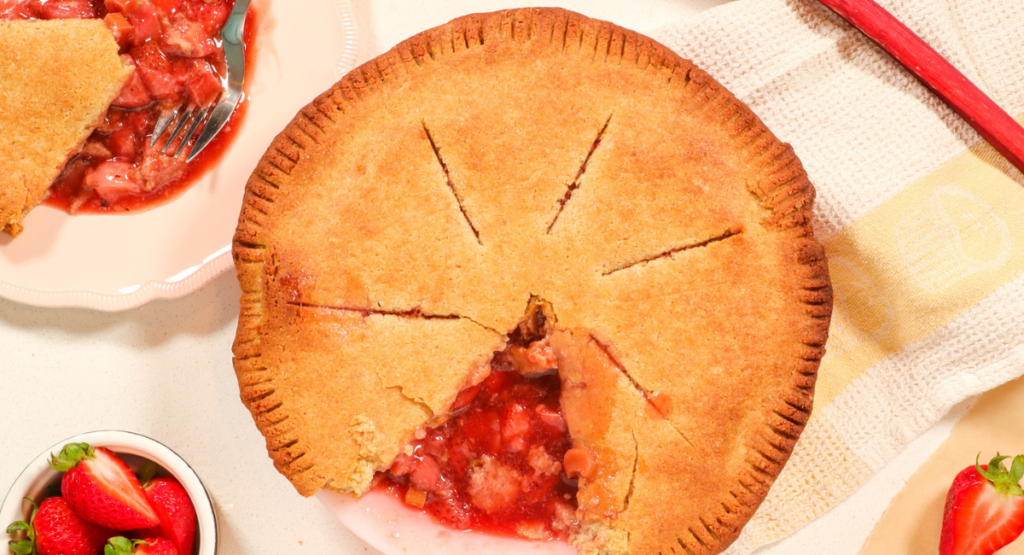
- Allow it to cool until it’s just warm, so the filling can thicken up a little. Slice and serve with coconut whipped cream, or vanilla (non-dairy) ice cream. Enjoy!
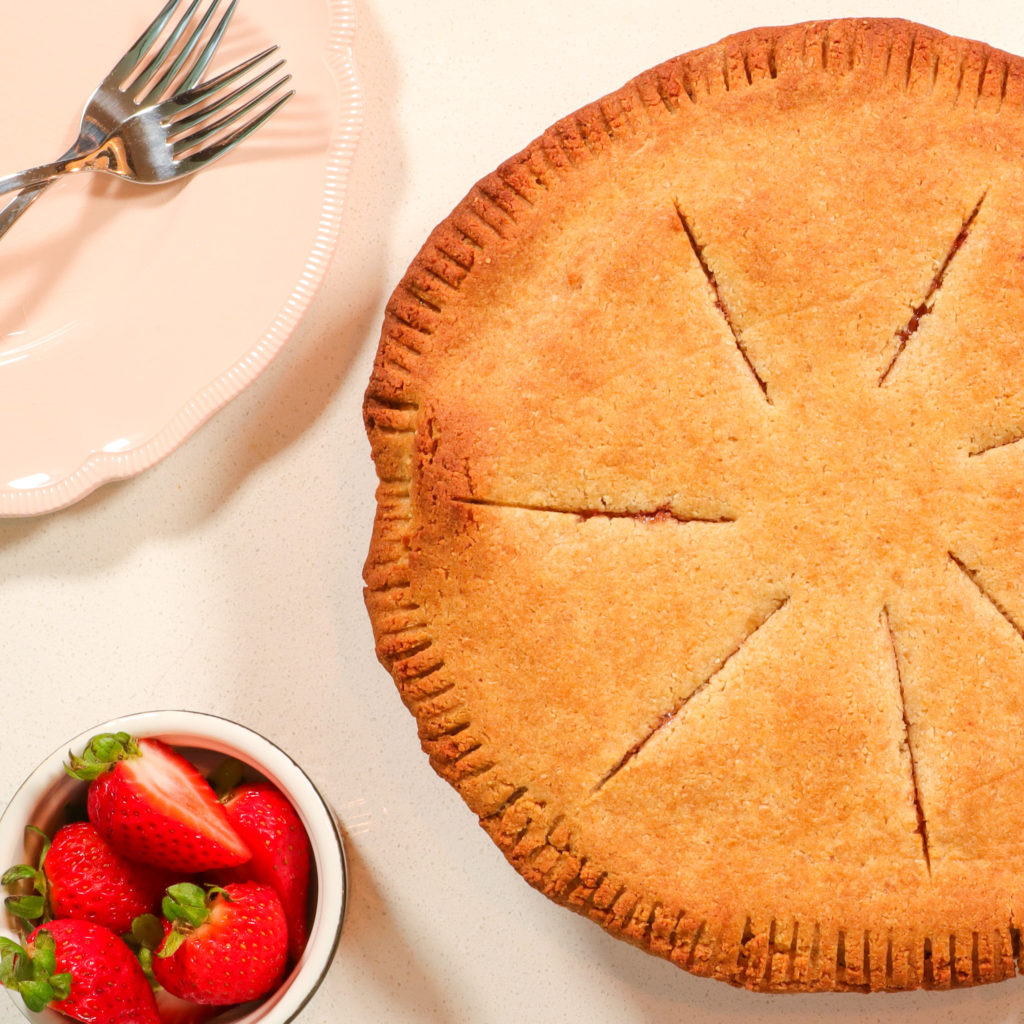
Yeah, it feels like summer ☀️
You know what they say – it’s pie ‘o clock somewhere… that is the saying, right? Really though, I would eat this pie for breakfast! It’s just so dang yummy!
Some fabulous switcheroos you could make are replacing the strawberries with blueberries (aka Bluebarb Pie), or using apples and strawberries, or apples and rhubarb! So many delicious combinations to celebrate the fruits of summer. Whatever you decide to make, it’s going to be delicious!
If you’ve made it this far into the blog post, you really are an exceptional human! Tried and loved this recipe? I’d be eternally grateful if you left a star-rating and review below!
If you’re looking for more fruity treats, you might love my Dark Chocolate Raspberry Scones, Apple Matcha Zucchini Muffins, or Pomegranate Pecan Fudge! Feeling like pie? Check out my Chocolate Avocado Cream Pie!
Lastly, if you made this recipe and decide to share it on Facebook or Instagram, don’t forget to tag me @SteamyVeganKitchen and use hashtag #SteamyVeganKitchen! I seriously love seeing what you’re cooking up!
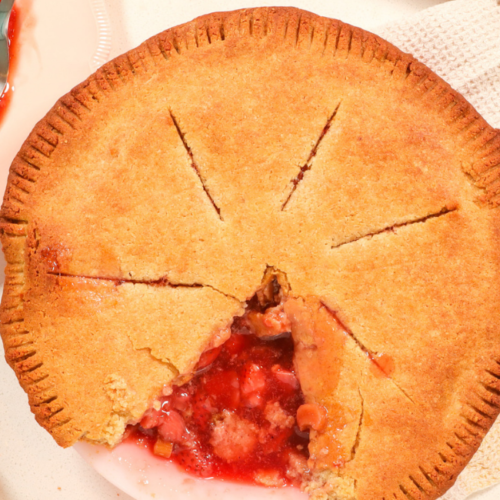
Strawberry Rhubarb Pie
Equipment
- 9" pie plate
Ingredients
Pie Crust (make 2 batches)
- 1 ¼ cup almond flour
- ¾ cup brown rice flour
- 2 tbsp coconut sugar
- 2 flax 'eggs' (2 tbsp ground flax seeds + 6 tbsp water, let sit for 10 mins)
- ½ tsp baking powder
- ¾ tsp sea salt
- 3 tbsp avocado or grapeseed oil
- 2 tbsp agave nectar
Pie Filling
- 1 ½ pints fresh strawberries (18 oz)
- 2 stalks rhubarb
- ⅔ cup maple syrup
- 1 tsp vanilla extract
- 1.5 tbsp tapioca or arrowroot flour
- generous pinch of salt
Instructions
- To a large mixing bowl add the brown rice flour, almond flour, coconut sugar, baking powder and salt, and whisk until the mixture is well combined with no lumps.Then add the agave nectar and grapeseed or avocado oil to the bowl and mix well with a spatula until the mixture has become crumbly like sand.
- Add the flax eggs to the mixture and continue mixing until it starts holding shape and forming a dough. At this point you can take over with your hands and knead the dough until it comes together into a ball form. Gluten-free dough needs to be worked much more than regular dough to help it stay together better. Wrap the dough in cling-wrap and let chill in the fridge for 1 hour.
- Place the chilled dough in between two layers of parchment paper and begin to gently press into it with your hands before starting to roll it out with a rolling pin. Roll the dough into a roughly 9” circle that’s about 1/4” in thickness. Peel back the top layer of parchment paper and carefully slide a thin cutting mat underneath the bottom layer (if you have one). Place your pie plate on top of the dough upside-down and carefully flip the crust over into the pan (that cutting mat is handy for this reason).
- Carefully press the dough into the pie plate using both hands, ensuring that it forms nicely into the bottom and sides of the plate. Trim off any overhanging dough with a sharp small knife, and from there pop it in your freezer for 30 minutes to chill.
- n the meantime you can get started on prepping your filling ingredients.Wash and cube your strawberries and rhubarb into 1/2” – 1” chunks and set aside for a moment.
- Once your pie crust has chilled, poke a few holes in the base with a fork and pre-bake in your oven on the middle rack at 350ºF for 20-25 minutes, until golden.
- Grab yourself a large pot and add in the maple syrup, vanilla extract and tapioca starch and whisk all the ingredients until they’re well combined and the flour has mostly dissolved. Add those chopped strawberries and the rhubarb and combine with a large large spoon until the fruit is coated. Heat the mixture on medium-high heat until bubbling, and cook for 12-15 minutes until the fruit is softened and the mixture is slightly runny. Let it cool for 5-10 minutes to allow it to thicken a little.
- Once the pie crust is pre-baked, ladle the fruit mixture into the pie crust until it’s about half an inch below the rim. You don’t want to overfill as it could leak out quite a bit when it goes back in the oven.
- Now, take your second sheet of dough and carefully place it over the pie. I find draping it over a rolling pin makes it a little easier to do, plus it reduces the risk of it cracking or ripping. Trim off any excess dough around the edges and with a fork, simple press the edges into the bottom crust as shown here, and with a sharp knife make a few slits in the top to allow steam to escape while baking. Bake for another 30 minutes on 350ºF or until the crust is golden.
- Let cool until warm enough to eat — this will allow the filling to thicken a little as it cools. Slice and serve with vanilla non-dairy ice cream or whipped cream and enjoy!

