Preheat oven to 400°F. Spread the 2 cups of raw hazelnuts on a baking tray and bake on the top rack for 6-8 minutes, or until they begin to turn golden or slightly darker in colour and become fragrant. Remove from the oven and immediately transfer to a clean kitchen towel to cool. (Skip this step if you bought your hazelnuts already roasted)
Once the hazelnuts are cool enough to handle it's time to remove their skins. Fold them in between two clean kitchen towels (or fold one in half) and using your hands rub the hazelnuts together fairly vigorously for a few minutes. You can do this directly on the counter or just pick them up a handful at a time and rub the nuts together until the skins start to crumble away. There will be some nuts where the skins barely come off or not at all, and it’s fine. We’re just doing this to ensure the smoothest texture possible.
Next, add the hazelnuts to a food processor, secure the lid and start processing them until they form a fine meal and then eventually hazelnut butter. Depending on the quality of your processor this could take anywhere from 2 to 8 minutes or more of continuous processing, with a few stops along the way to scrape down the sides as you go.
At the point where your hazelnuts have processed as much as their going to process, add in the coconut sugar, cocoa powder, vanilla, oil, maple syrup, and salt. Secure the lid and blend again on high speed until it becomes a uniform mixture. It may be mealy OR begin turning into a more smooth texture. If it's beginning to turn fairly smooth you may wish to omit adding the milk, HOWEVER if your mixture is still dry and mealy then start by adding in half the milk and continue blending until it gets creamy and smooth. Add the remainder of the milk if needed (I did!)
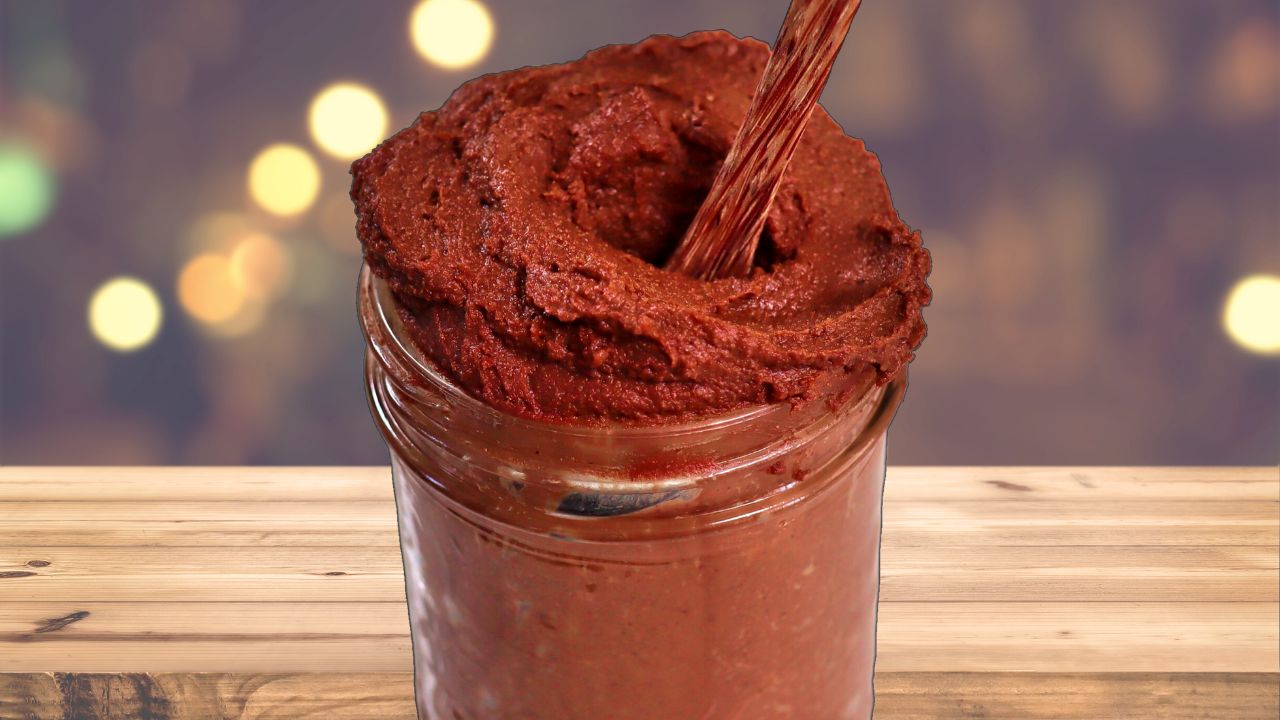
Once you have achieved a THICK, creamy spread (a tiny bit of texture is fine, in fact it's quite lovely) transfer to a clean jar and keep refrigerated for up to 2 weeks. ENJOY! Optional fun flavours to mix in: Cinnamon, pumpkin pie spice, cayenne pepper or orange zest!